
NMTerras
Suspension Lift
- Location
- New Mexico
PIC HEAVY!!!!
My build isn't done (are they ever?) but I sure love the journey...100% BNB! (built, not bought)

Currently:
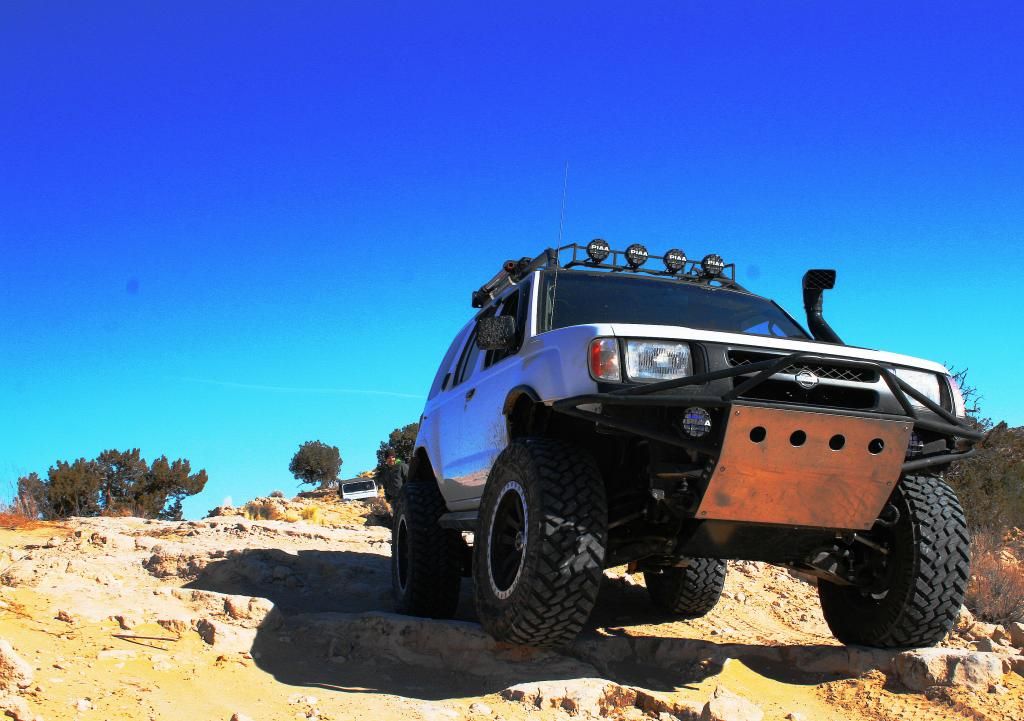
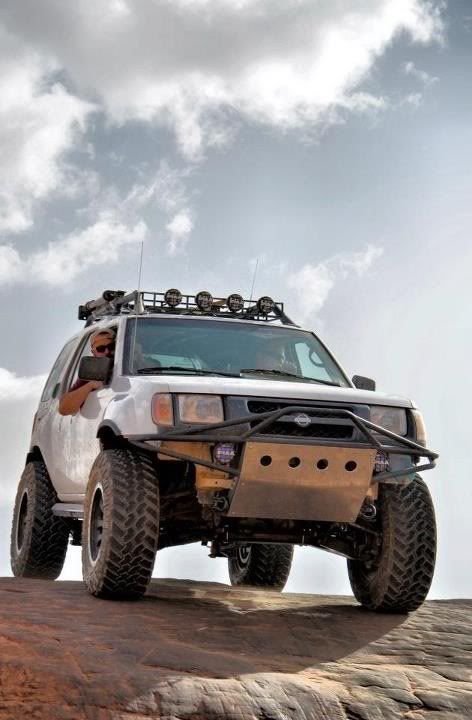
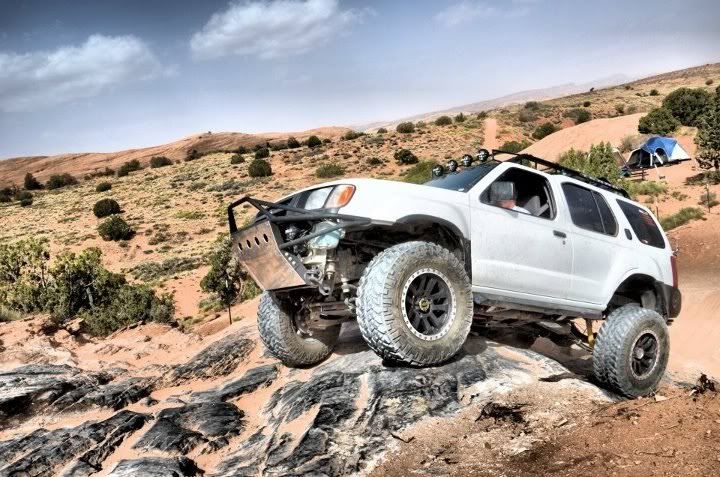
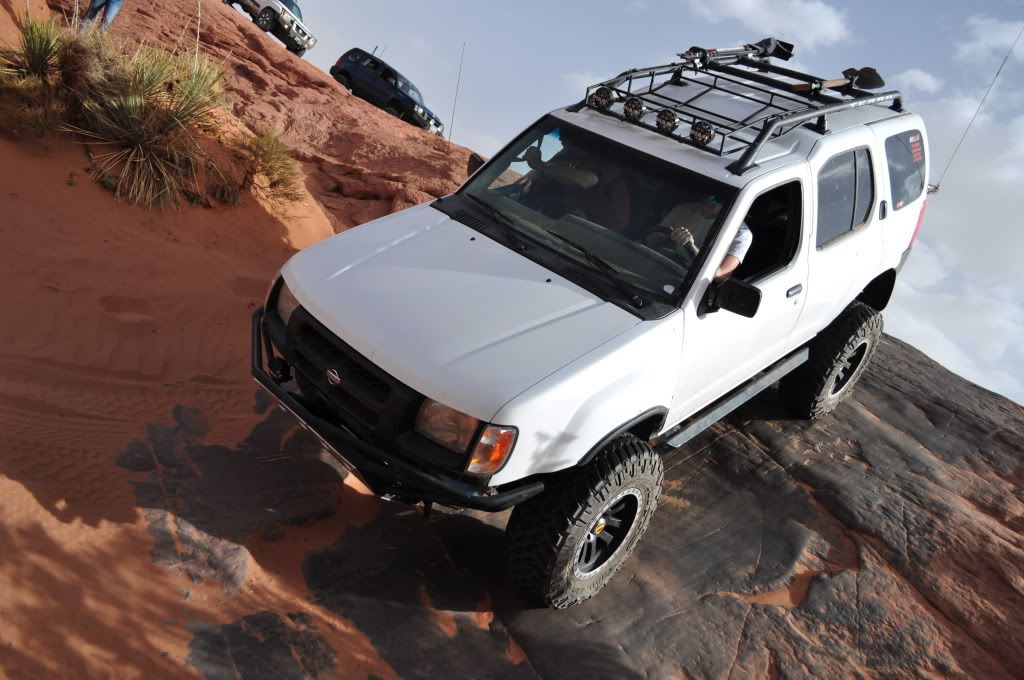
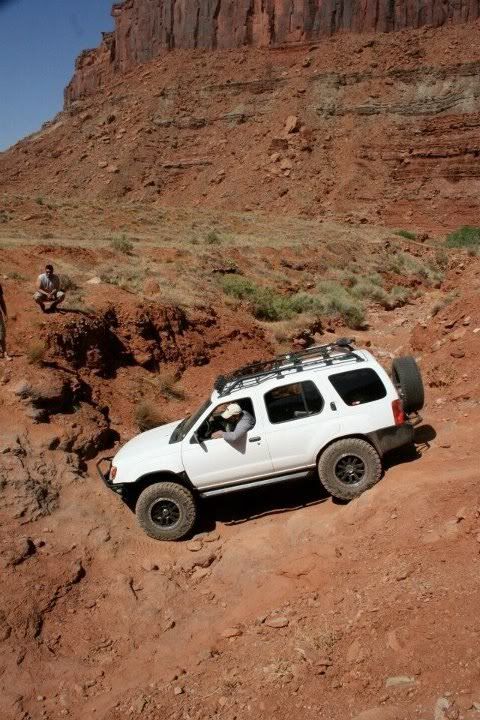
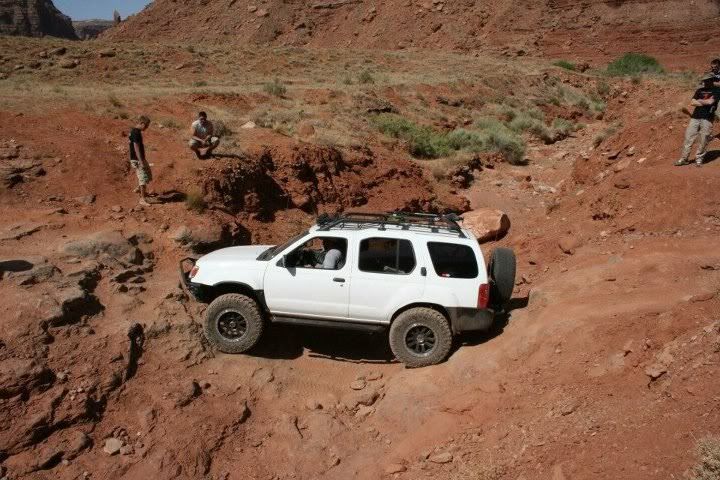
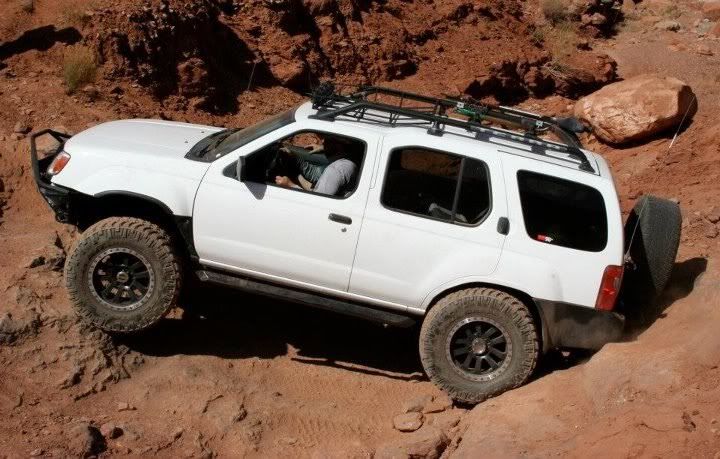
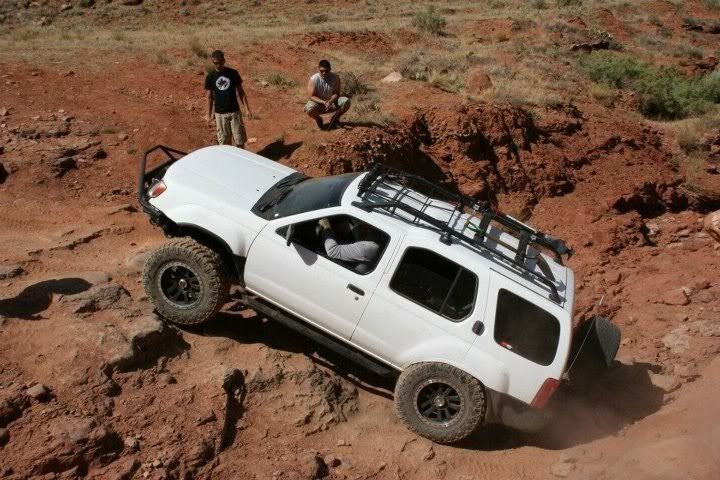
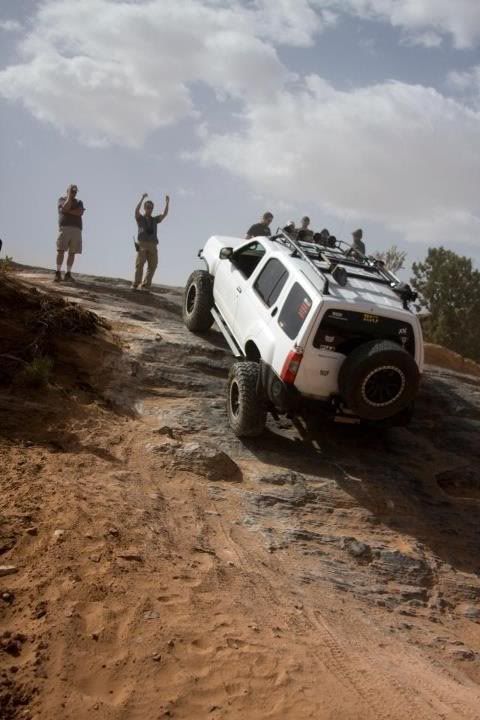
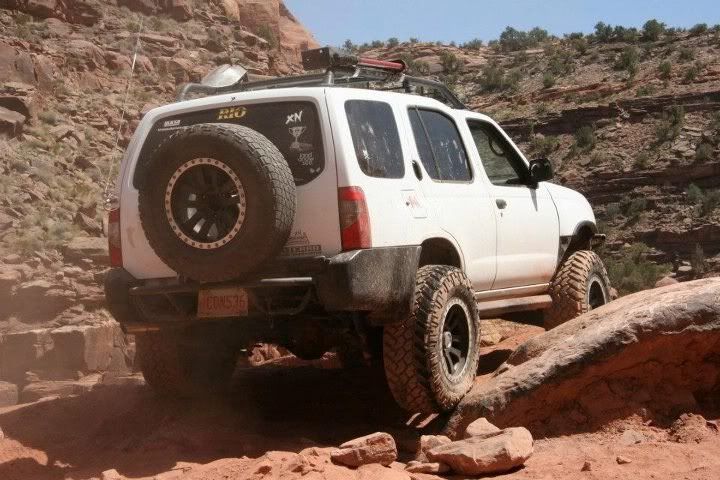
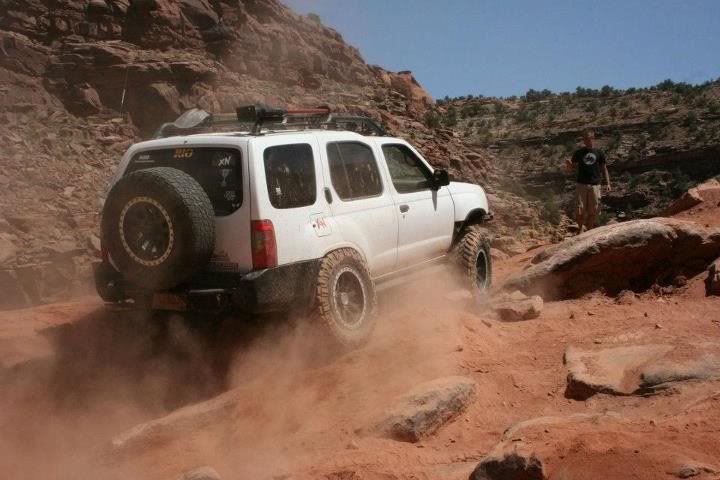
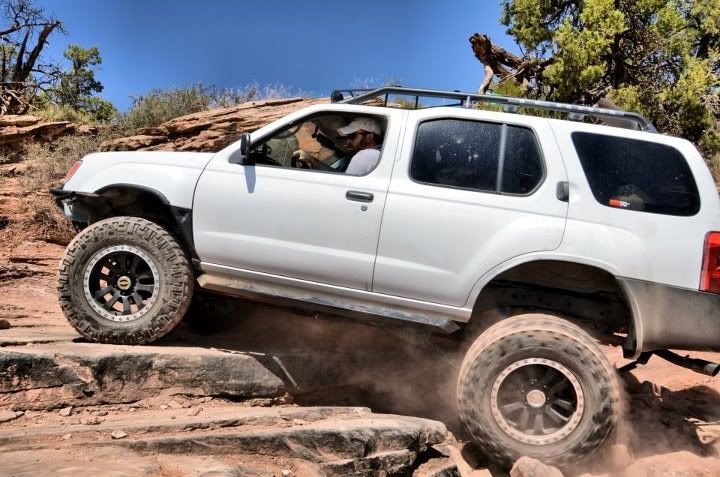
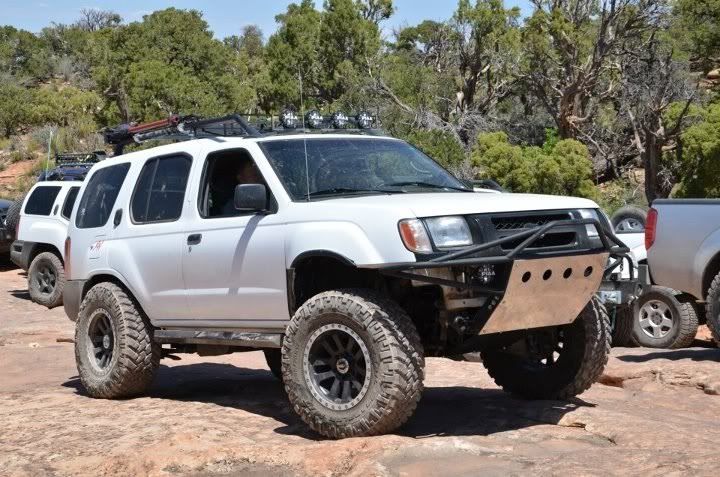
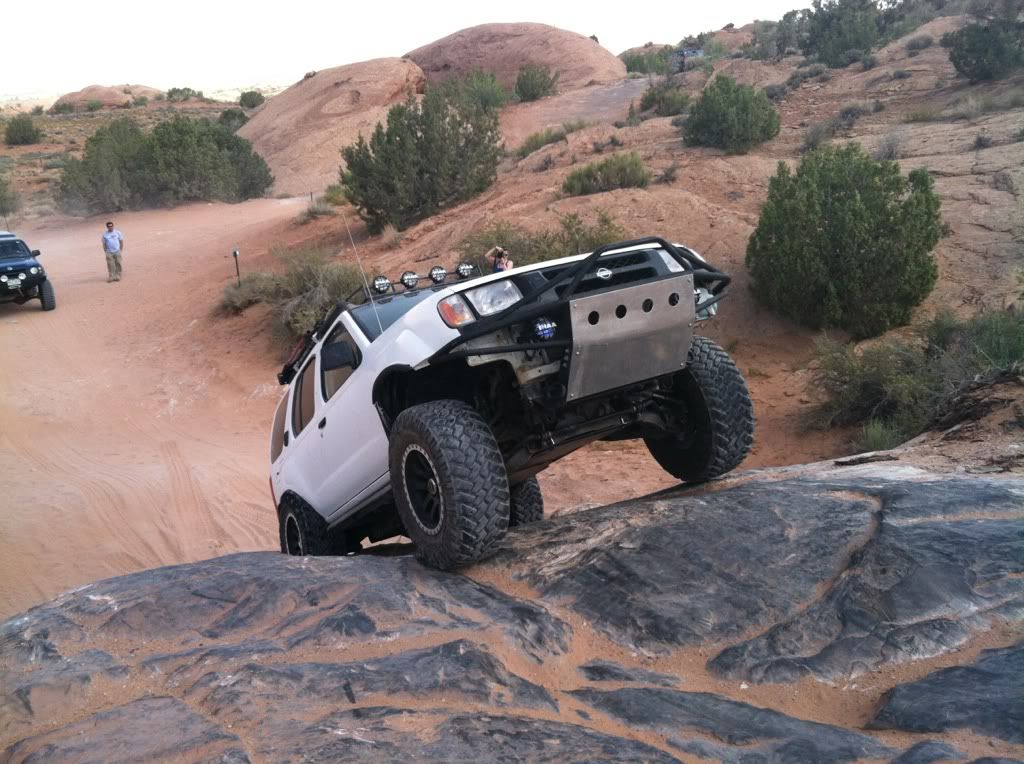
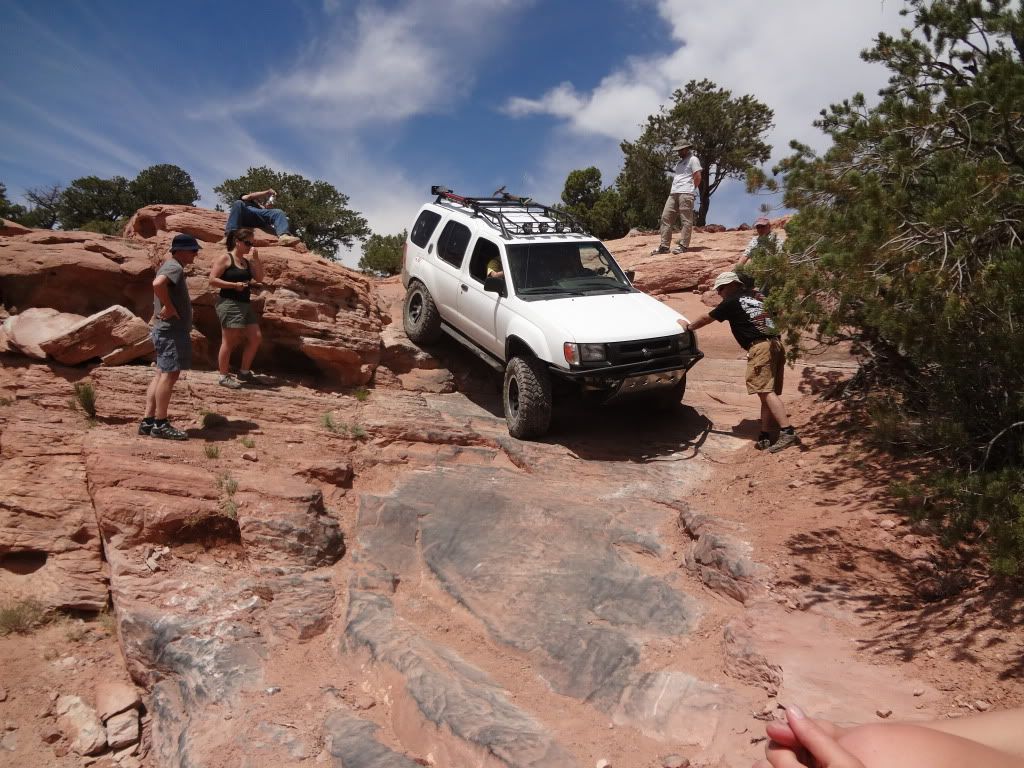
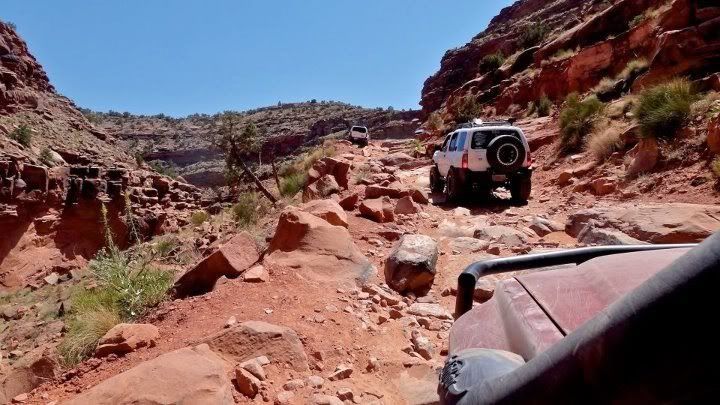
Moab action prior to blacking out front and adding TC steering:
Terra
2000 XE 3.3L 4x4; sport and utility packages
Purchased: September 1999
171k miles and going strong
Modifications
Performance:
K&N Apollo enclosed CAI plumbed to safari snorkel
Gibson Catback exhaust (with Moab-bent tip) REPLACED 10/12
Doug Thorley longtube headers w/ CELs
Flowmaster Super 44 muffler con custom y-pipe and cat delete
Resonator delete
SC Radiator swap
NGK iridium plugs / wires
Seafoam
Royal Purple 5-30w
Amsoil Severe Gear front and rear diff
Amsoil manual gear oil
Amsoil ATF transfer case
Interior:
Cobra 75 WXST CB
Clarion double DIN head unit w/bluetooth and USB iPod interface
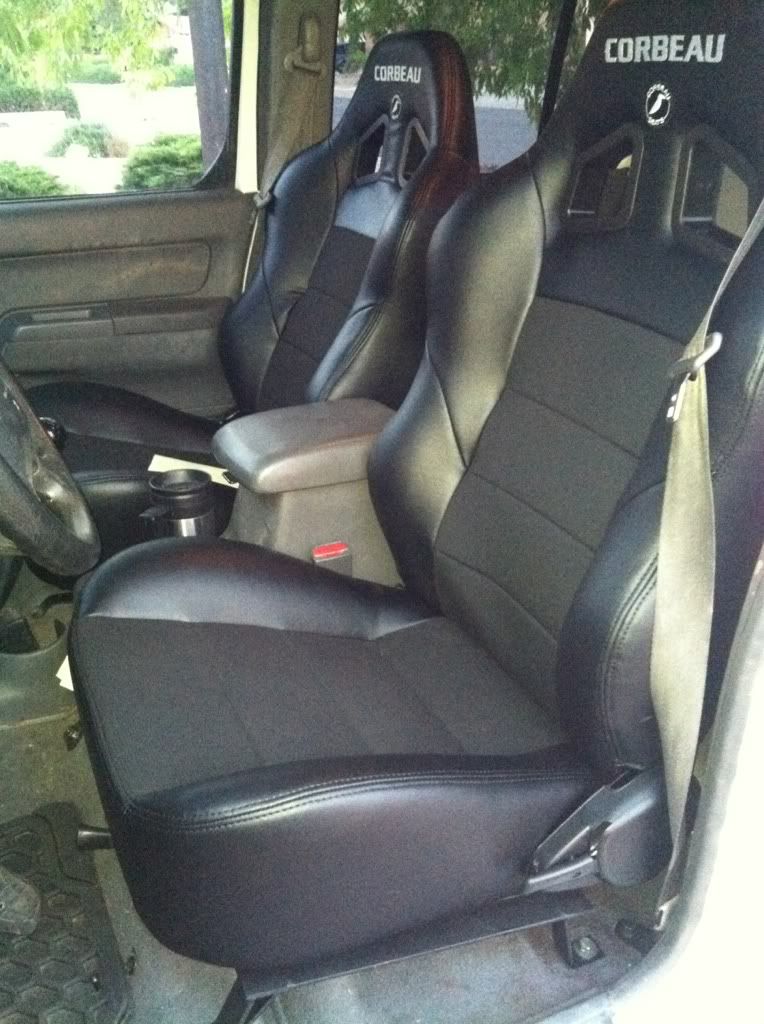
Corbeau baja xrs front seats
OEM neoprene rear seat covers
Tools - impact wrench, air ratchet, grinder, propane torch, the usual sockets, wrenches, duct tape, paracord, BFH, etc.
recovery gear - bubba rope, shackles, smittybuilt strap, hilift tire lift, hatchet, machete, shovel
RAM-mount ipad w/BadElf GPS nav
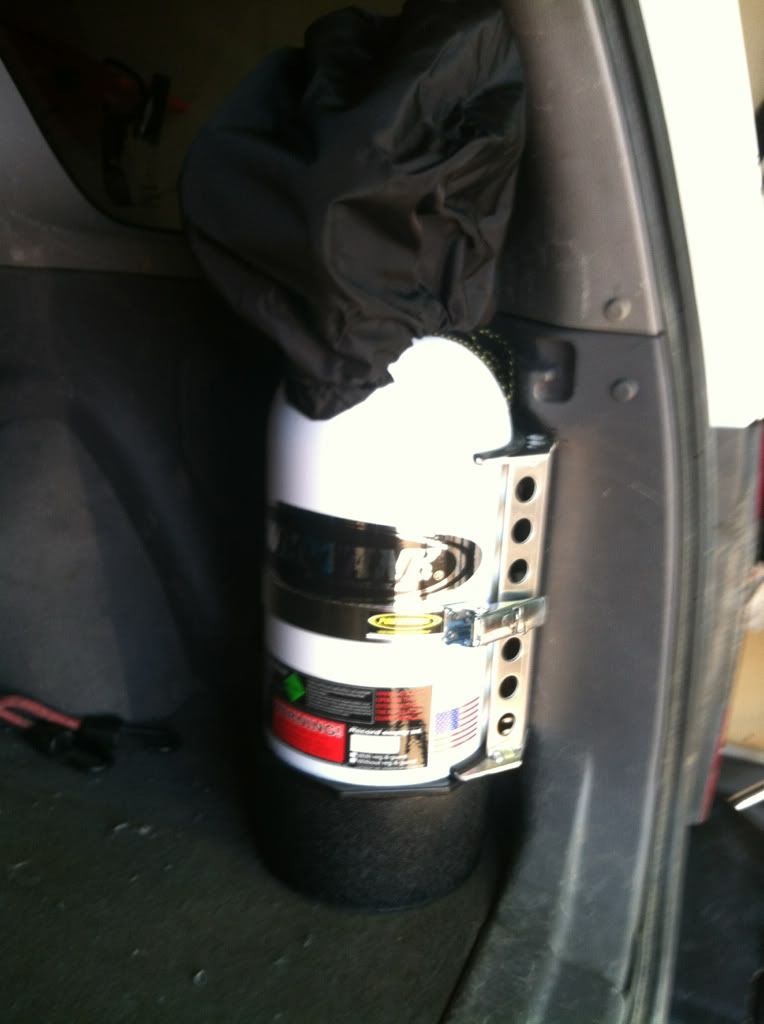
Powertank
Hockey stick/duct tape fly rod rack
Suspension/Steering:
AC 3" SL
- UCAs, Sway-away torsion bars, 3-pack AAL, Bilsteins
1" BL
IAB and TRAS replaced 6/12/12 with total chaos king kong system
Rear sway bar delete
Rugged Rocks HD motor mount
Exterior:
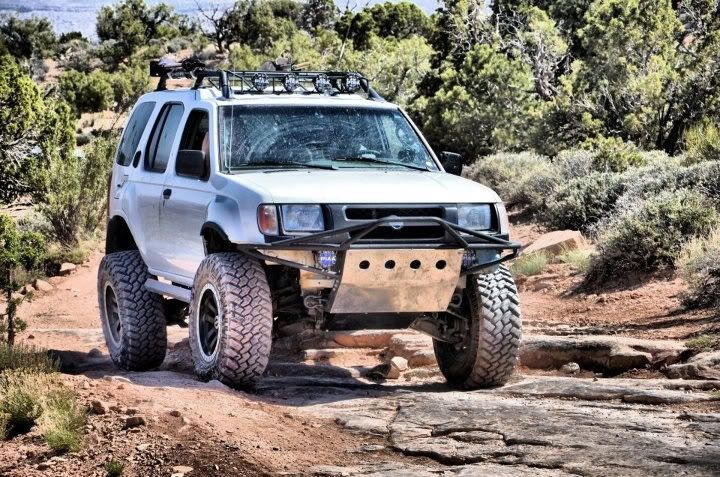
295-70-17 Nitto trail grapplers
Eagle Alloy series 063 wheels (4.47" backset)
warn manual locking hubs
sliders by KUMA
fender cutting/trimming
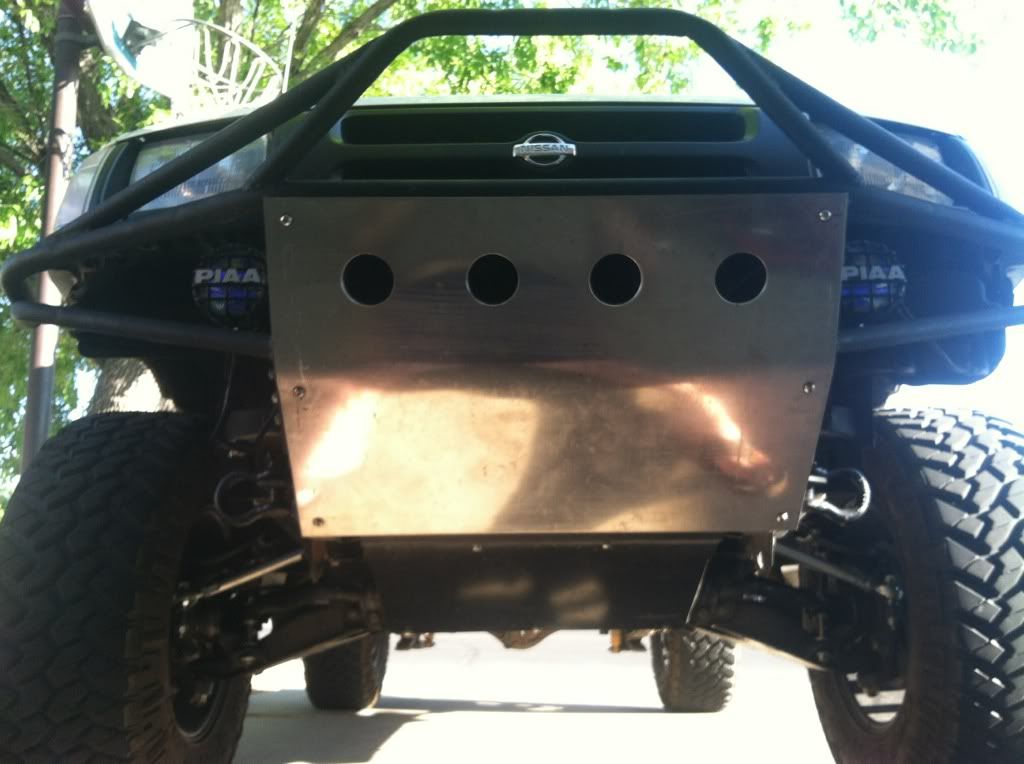
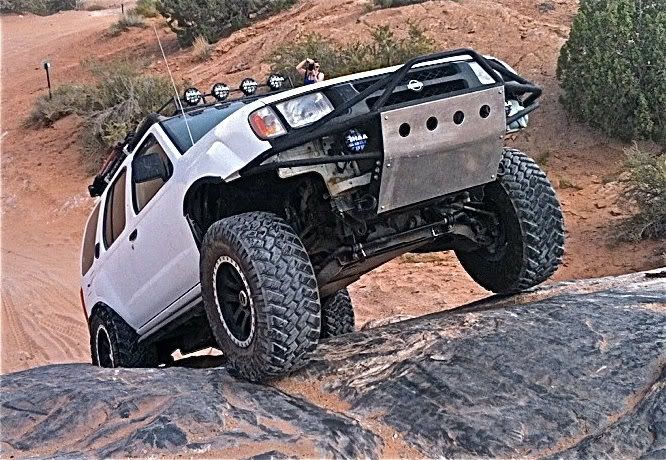
imagineered tube pre-runner bumper and aluminum front skid - B17 Fab
light truss-clamp roof-rail hilift jack mount (Drake mount)
quickfist shovel mount
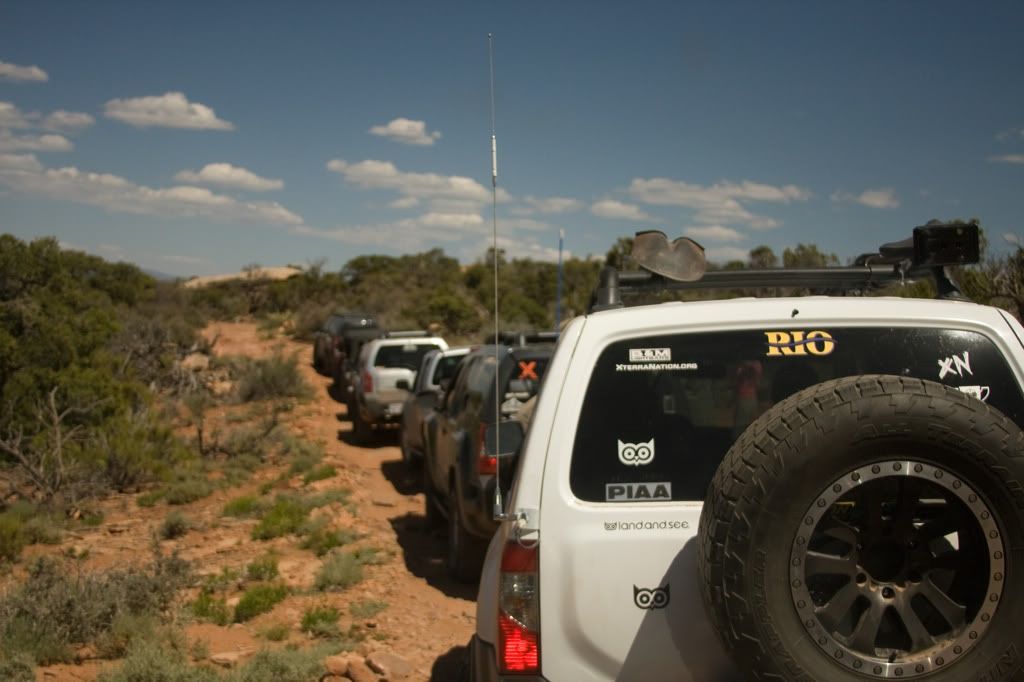
fold-down CB antenna
PIAA plasma ion fogs
Skid row skids - rad, engine, tranny and gas tank
imagineered tube rear bumper - custom/B17 Fab
Swing-away spare tire mount - custom/B17 Fab
B&M Lightbars light basket
4" PIAA superwhites for light basket
Electrical:
Blue Sea fuse block
Drivetrain
Rear ARB locker actuated by Powertank
On Deck:
Front locker
Cargo tool box
custom safari rack and ladder - B17 fab
SAS!
Eventually:
flux capacitor
The Narrative:
Terra replaced my modded 87 4runner, totalled by a drunk driver. Currently, she is over 170k miles, and over the course of her life has been daily driven by first me, then my daughter, then my son, and then back to me a couple of years ago. That's when the mod bug bit. I don't have any old stock pics handy, but here's what she looked like when the only things I had done were bedliner on the wheels, step rails and roof rack, and a K&N cold air intake (before I knew better, I have since added a drycharger pre-filter to prevent dust, mud and water incursion, which might very well reduce the benefits of clean air intake, I'm not sure):

I also put on a safari bar, which I thought was cool at the time but was all but useless in terms of mods. Mounted Hellas on the safari bar. Out of necessity, around this time I also swapped out the stock radiator for the SC version, which I suggest to all 2000 or 2001 owners is the single most important mod you can do to your X. Over the years Terra had been super reliable except for one glaring exception: She overheated on me three times, including twice on the way to court, which is something you NEVER want to be late for. The first two times I replaced blown out hoses, the third time the plastic inlet blew off. Anyway...with the SC radiator, all problems solved, she runs at a constant temperature regardless of condition.
Then, I went on a fishing trip which included an unexpected mud adventure, during which I learned my automatic hubs were fried. Four hours and much stress later:

I replaced the fried autos with warn manual hubs. In the process, I started poking around another X site I had joined some time earlier to have a question answered about a check engine light code. Started reading threads. Thought to myself, if I'm going to put money into this thing, and since I have a need for a vehicle which is reliable and capable in remote areas, might as well go all out. First round of mods included a 3" SL (from AC, with UCAs, IAB, 3-pack AAL, bilsteins and beefier torsion bars)
After the SL: (Awww look at her cute widdle wheels!)

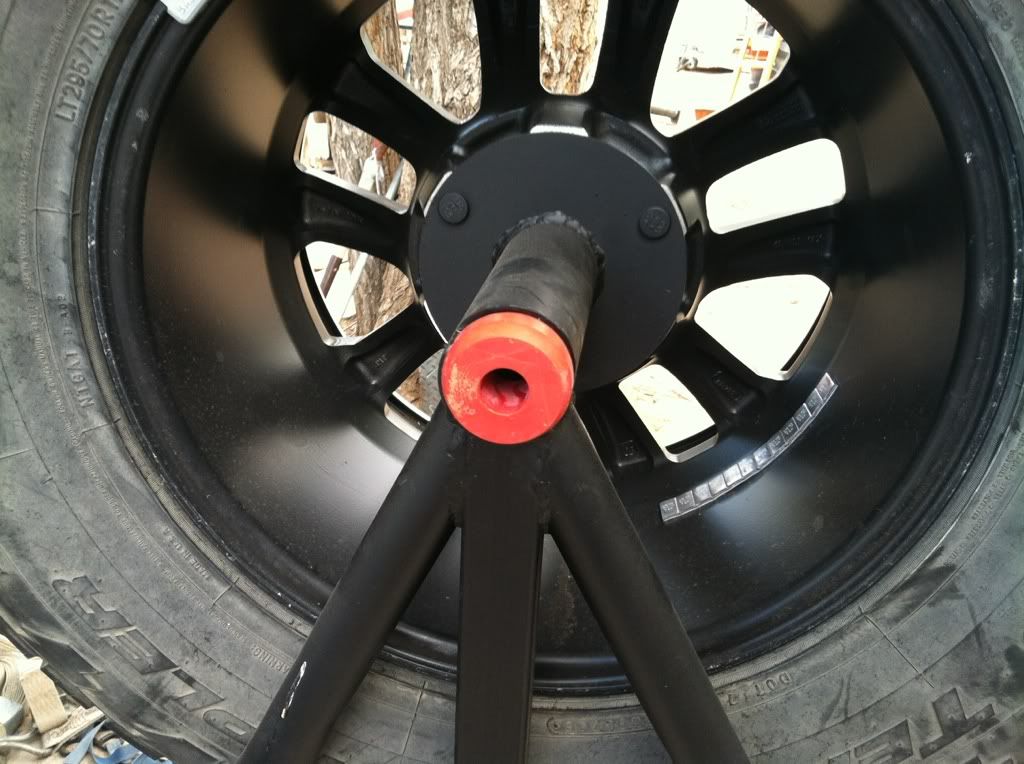
Replaced stock wheels and tires with 17" rims and 295s:

...and did a crapload of trimming/metal cutting/welding in the front to make the wheels clear...

Also rolled the rear fenders (after searching for, and failing to find, a viable way to make more space without massive surgery so rubbing wouldn't be a tire killer)

Painted the plastics and bumper black, removed stupid safari bar:

...remounted the hellas on the front bumper and went wheeling:

gratuitous mud pic/glamour shot:

Next round of mods: hilift jack mounted to the side rail of the stock roof rack with light truss clamps (aka the Drake mount), quick fist shovel mount, Cobra 75WXT CB with remote unit behind center console, ran the antenna coax through center console, under driver's seat, inside driver's side body molding, out rear hatch
Also bought custom sliders from KUMA, which are awesome. See current pics.
B17 Fab time! (My Buddy Steve and I, in his shop, with beer, imagineering) Job: Design and build tube bumpers front and rear.
Front under construction, pre-runner style:

Started this by cutting back the frame rails and welding on 2x2" 1/4" thick stock to create the approach angle, then drilled and tapped the stock and bolted on the tube bumper (tubing bent with a POS handjack tube bender..not ideal, but it worked!

Rear tube bumper, with departure angle designed to protect the spare tire; and swing away spare tire carrier. Originally was going to try and adapt a hardbody spare mount, but went full custom instead of adapting the pathy carrier:
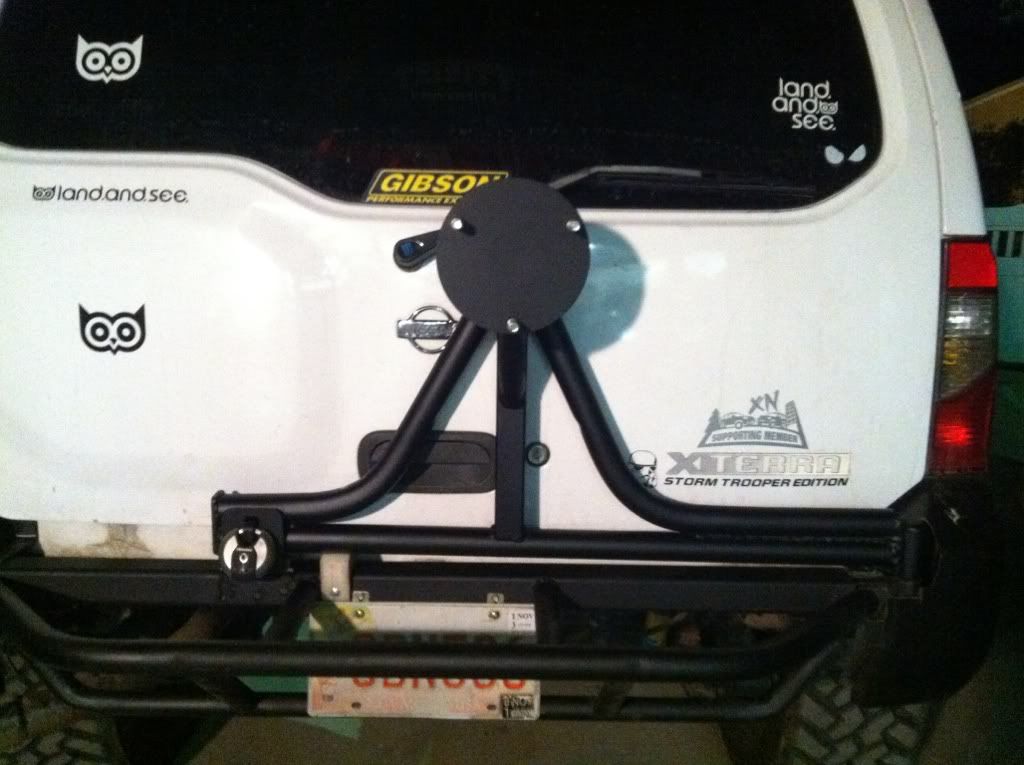

Hinge is a 7" 3/4" diameter barrel hinge, the kind generally used for big gates or safes. Latch is custom latch, hinge and hasp with a padlock. white plastic to the right of the padlock is the saddle for the lateral bar holding the tire mount. top of the saddle is notched and dished to discourage movement of the bar front/rear. Added a polyurethane bushing to protect the hatch:
Oh, and did I mention I made an interior fly rod rack out of duct tape and a hockey stick?

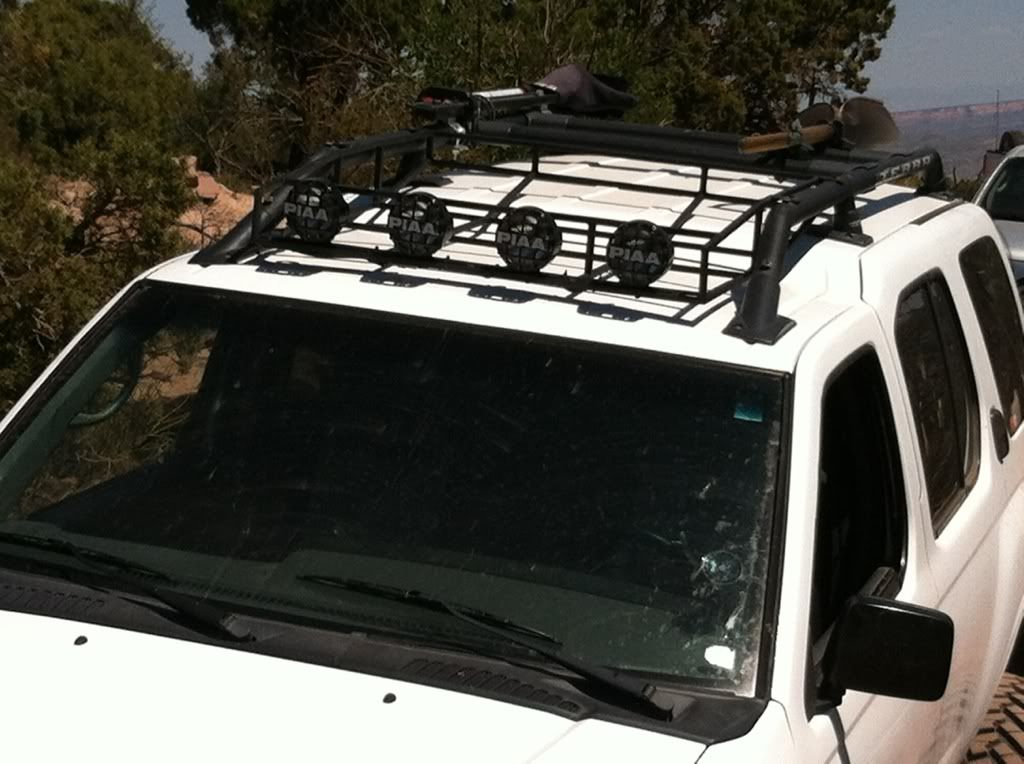
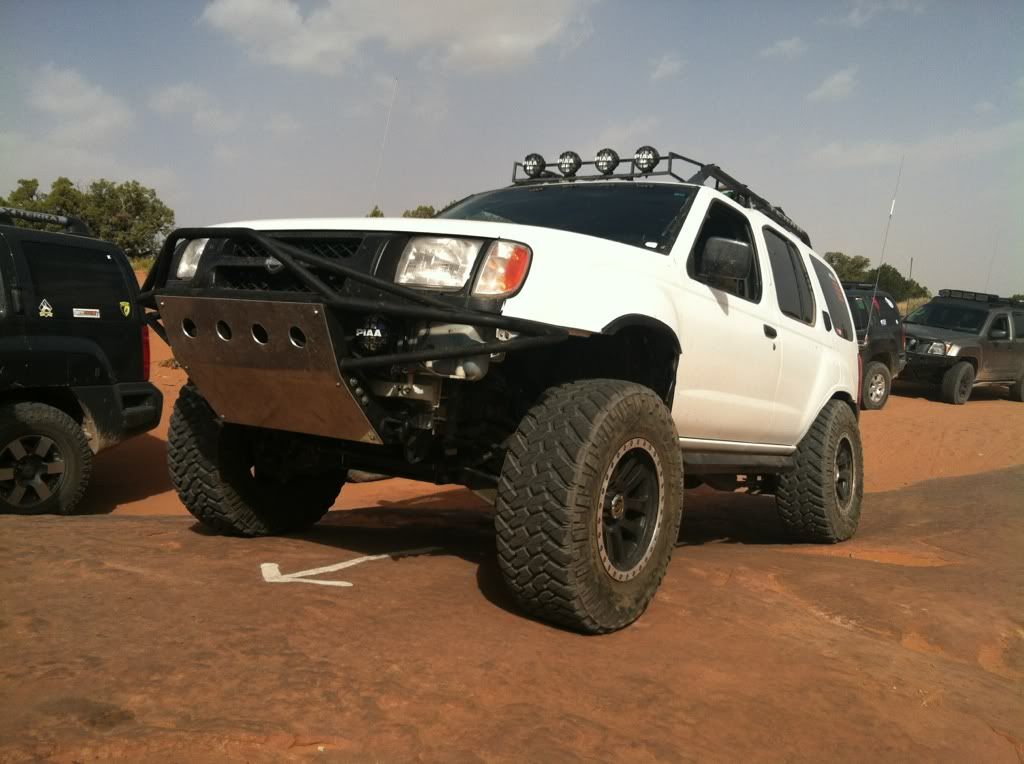
Finally, just in time for MOAB, I installed the light basket and four PIAA super whites:
All finished...
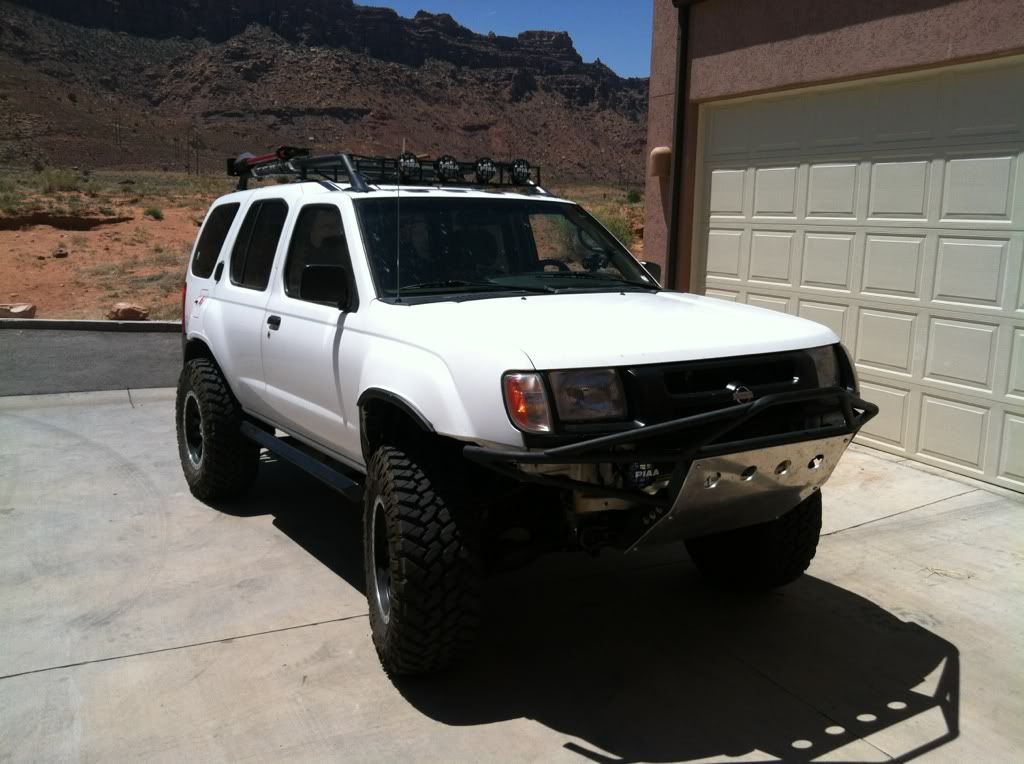
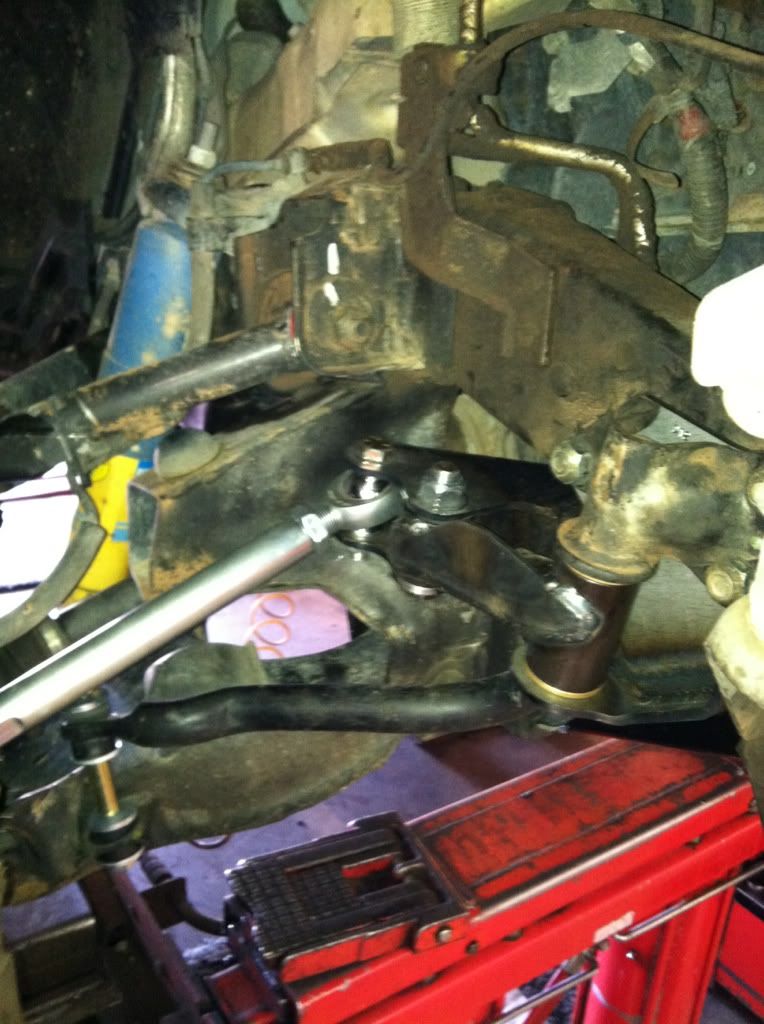
Since Moab, I replaced the stock steering and tie rods with total chaos system and heims, put in corbeau seats, installed the PowerTank and did some trim painting up front.
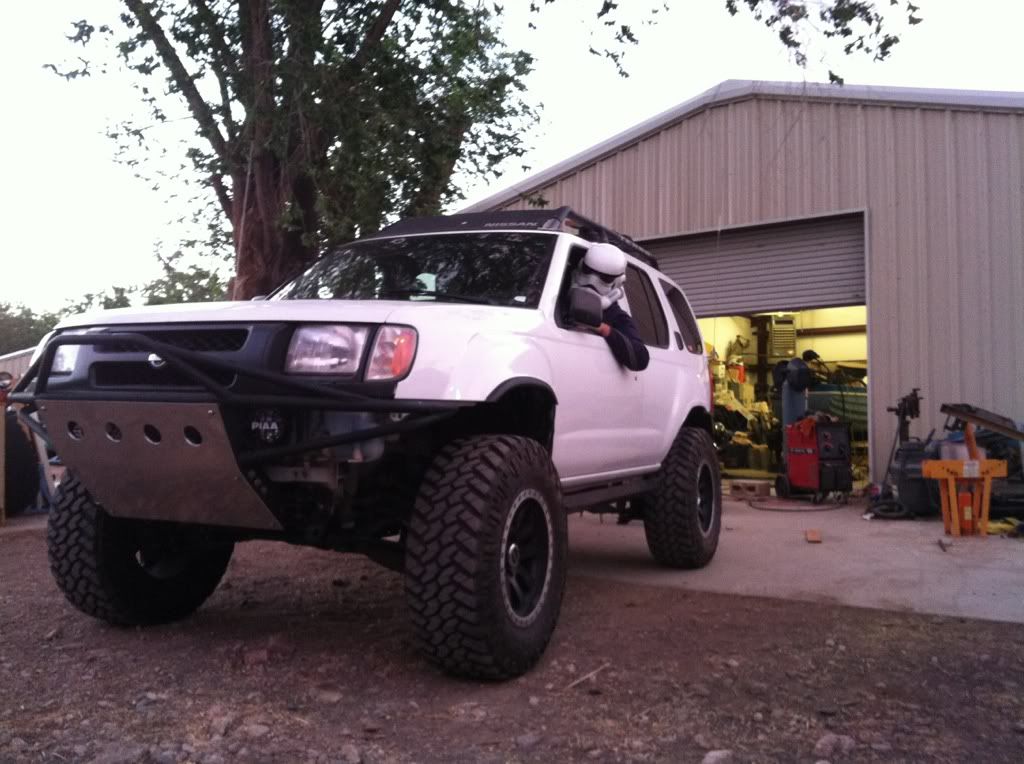
Stormtroopah!
My build isn't done (are they ever?) but I sure love the journey...100% BNB! (built, not bought)
Currently:
Moab action prior to blacking out front and adding TC steering:
Terra
2000 XE 3.3L 4x4; sport and utility packages
Purchased: September 1999
171k miles and going strong
Modifications
Performance:
K&N Apollo enclosed CAI plumbed to safari snorkel
Gibson Catback exhaust (with Moab-bent tip) REPLACED 10/12
Doug Thorley longtube headers w/ CELs
Flowmaster Super 44 muffler con custom y-pipe and cat delete
Resonator delete
SC Radiator swap
NGK iridium plugs / wires
Seafoam
Royal Purple 5-30w
Amsoil Severe Gear front and rear diff
Amsoil manual gear oil
Amsoil ATF transfer case
Interior:
Cobra 75 WXST CB
Clarion double DIN head unit w/bluetooth and USB iPod interface
Corbeau baja xrs front seats
OEM neoprene rear seat covers
Tools - impact wrench, air ratchet, grinder, propane torch, the usual sockets, wrenches, duct tape, paracord, BFH, etc.
recovery gear - bubba rope, shackles, smittybuilt strap, hilift tire lift, hatchet, machete, shovel
RAM-mount ipad w/BadElf GPS nav
Powertank
Hockey stick/duct tape fly rod rack
Suspension/Steering:
AC 3" SL
- UCAs, Sway-away torsion bars, 3-pack AAL, Bilsteins
1" BL
IAB and TRAS replaced 6/12/12 with total chaos king kong system
Rear sway bar delete
Rugged Rocks HD motor mount
Exterior:
295-70-17 Nitto trail grapplers
Eagle Alloy series 063 wheels (4.47" backset)
warn manual locking hubs
sliders by KUMA
fender cutting/trimming
imagineered tube pre-runner bumper and aluminum front skid - B17 Fab
light truss-clamp roof-rail hilift jack mount (Drake mount)
quickfist shovel mount
fold-down CB antenna
PIAA plasma ion fogs
Skid row skids - rad, engine, tranny and gas tank
imagineered tube rear bumper - custom/B17 Fab
Swing-away spare tire mount - custom/B17 Fab
B&M Lightbars light basket
4" PIAA superwhites for light basket
Electrical:
Blue Sea fuse block
Drivetrain
Rear ARB locker actuated by Powertank
On Deck:
Front locker
Cargo tool box
custom safari rack and ladder - B17 fab
SAS!
Eventually:
flux capacitor
The Narrative:
Terra replaced my modded 87 4runner, totalled by a drunk driver. Currently, she is over 170k miles, and over the course of her life has been daily driven by first me, then my daughter, then my son, and then back to me a couple of years ago. That's when the mod bug bit. I don't have any old stock pics handy, but here's what she looked like when the only things I had done were bedliner on the wheels, step rails and roof rack, and a K&N cold air intake (before I knew better, I have since added a drycharger pre-filter to prevent dust, mud and water incursion, which might very well reduce the benefits of clean air intake, I'm not sure):
I also put on a safari bar, which I thought was cool at the time but was all but useless in terms of mods. Mounted Hellas on the safari bar. Out of necessity, around this time I also swapped out the stock radiator for the SC version, which I suggest to all 2000 or 2001 owners is the single most important mod you can do to your X. Over the years Terra had been super reliable except for one glaring exception: She overheated on me three times, including twice on the way to court, which is something you NEVER want to be late for. The first two times I replaced blown out hoses, the third time the plastic inlet blew off. Anyway...with the SC radiator, all problems solved, she runs at a constant temperature regardless of condition.
Then, I went on a fishing trip which included an unexpected mud adventure, during which I learned my automatic hubs were fried. Four hours and much stress later:
I replaced the fried autos with warn manual hubs. In the process, I started poking around another X site I had joined some time earlier to have a question answered about a check engine light code. Started reading threads. Thought to myself, if I'm going to put money into this thing, and since I have a need for a vehicle which is reliable and capable in remote areas, might as well go all out. First round of mods included a 3" SL (from AC, with UCAs, IAB, 3-pack AAL, bilsteins and beefier torsion bars)
After the SL: (Awww look at her cute widdle wheels!)
Replaced stock wheels and tires with 17" rims and 295s:
...and did a crapload of trimming/metal cutting/welding in the front to make the wheels clear...
Also rolled the rear fenders (after searching for, and failing to find, a viable way to make more space without massive surgery so rubbing wouldn't be a tire killer)
Painted the plastics and bumper black, removed stupid safari bar:
...remounted the hellas on the front bumper and went wheeling:
gratuitous mud pic/glamour shot:
Next round of mods: hilift jack mounted to the side rail of the stock roof rack with light truss clamps (aka the Drake mount), quick fist shovel mount, Cobra 75WXT CB with remote unit behind center console, ran the antenna coax through center console, under driver's seat, inside driver's side body molding, out rear hatch
Also bought custom sliders from KUMA, which are awesome. See current pics.
B17 Fab time! (My Buddy Steve and I, in his shop, with beer, imagineering) Job: Design and build tube bumpers front and rear.
Front under construction, pre-runner style:
Started this by cutting back the frame rails and welding on 2x2" 1/4" thick stock to create the approach angle, then drilled and tapped the stock and bolted on the tube bumper (tubing bent with a POS handjack tube bender..not ideal, but it worked!
Rear tube bumper, with departure angle designed to protect the spare tire; and swing away spare tire carrier. Originally was going to try and adapt a hardbody spare mount, but went full custom instead of adapting the pathy carrier:
Hinge is a 7" 3/4" diameter barrel hinge, the kind generally used for big gates or safes. Latch is custom latch, hinge and hasp with a padlock. white plastic to the right of the padlock is the saddle for the lateral bar holding the tire mount. top of the saddle is notched and dished to discourage movement of the bar front/rear. Added a polyurethane bushing to protect the hatch:
Oh, and did I mention I made an interior fly rod rack out of duct tape and a hockey stick?
Finally, just in time for MOAB, I installed the light basket and four PIAA super whites:
All finished...
Since Moab, I replaced the stock steering and tie rods with total chaos system and heims, put in corbeau seats, installed the PowerTank and did some trim painting up front.
Stormtroopah!
Last edited:
")


