
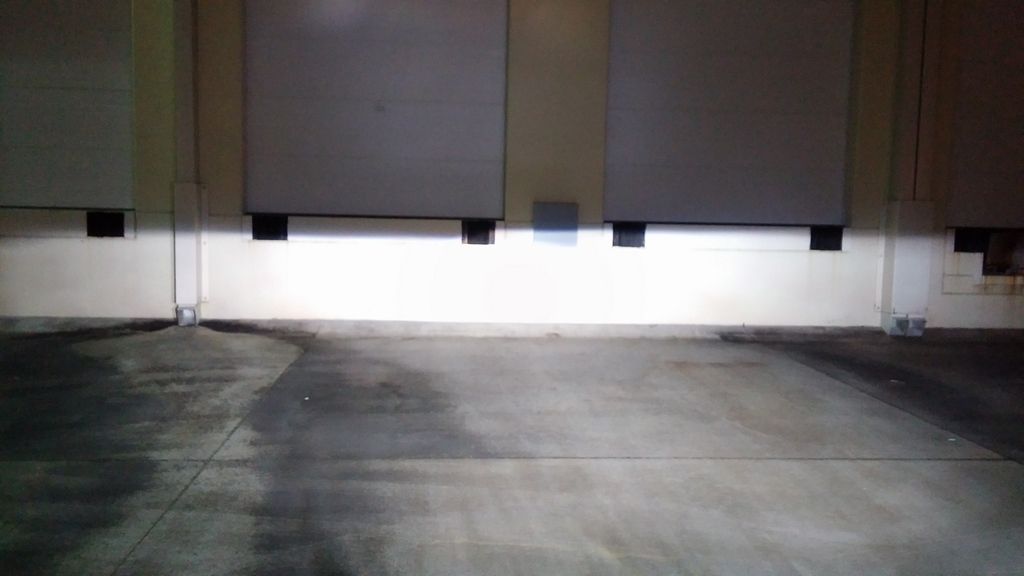
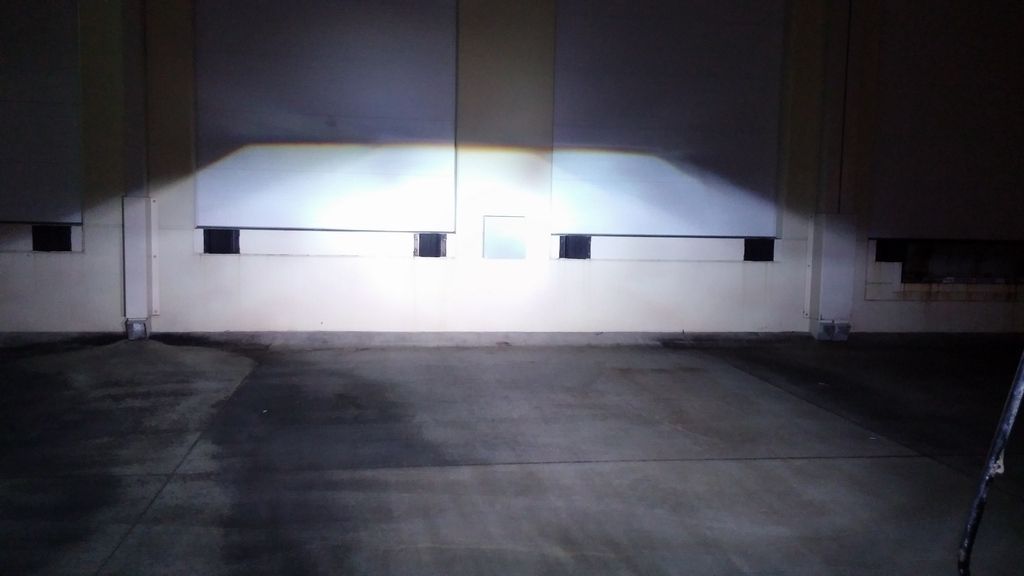
- Location
- Denver Adjacent
Okay, so I wanted to do a step by step.
How to disassemble, bake, paint, install HID projectors, finish and install Gen 1.5 headlights.
I started with brand new off the shelf headlights. So I won't cover truck disassembly at this point. That comes later.
Tools:
Phillips head screwdriver
Flat head screwdriver
Oven
Aluminum foil
Razor knife
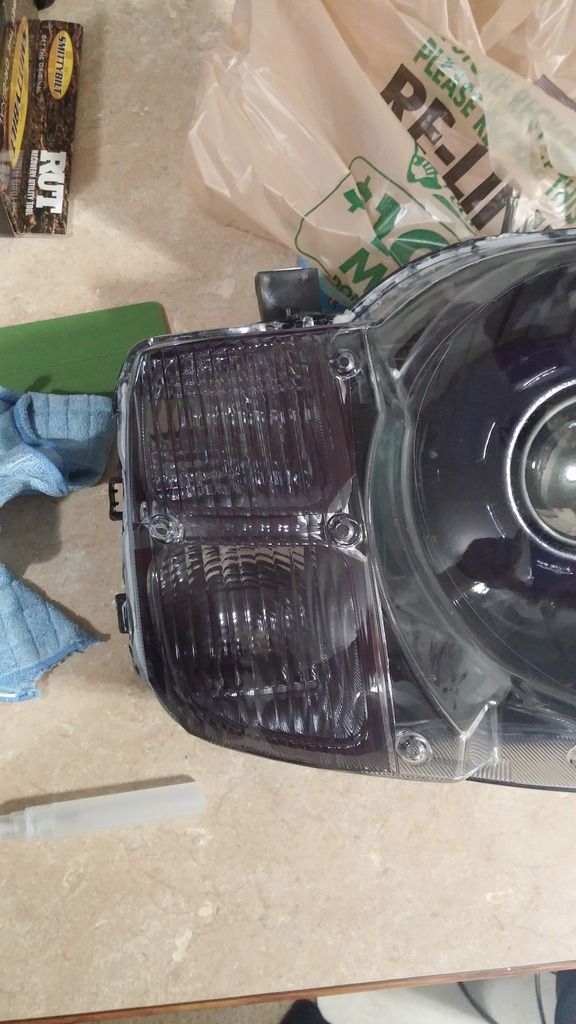
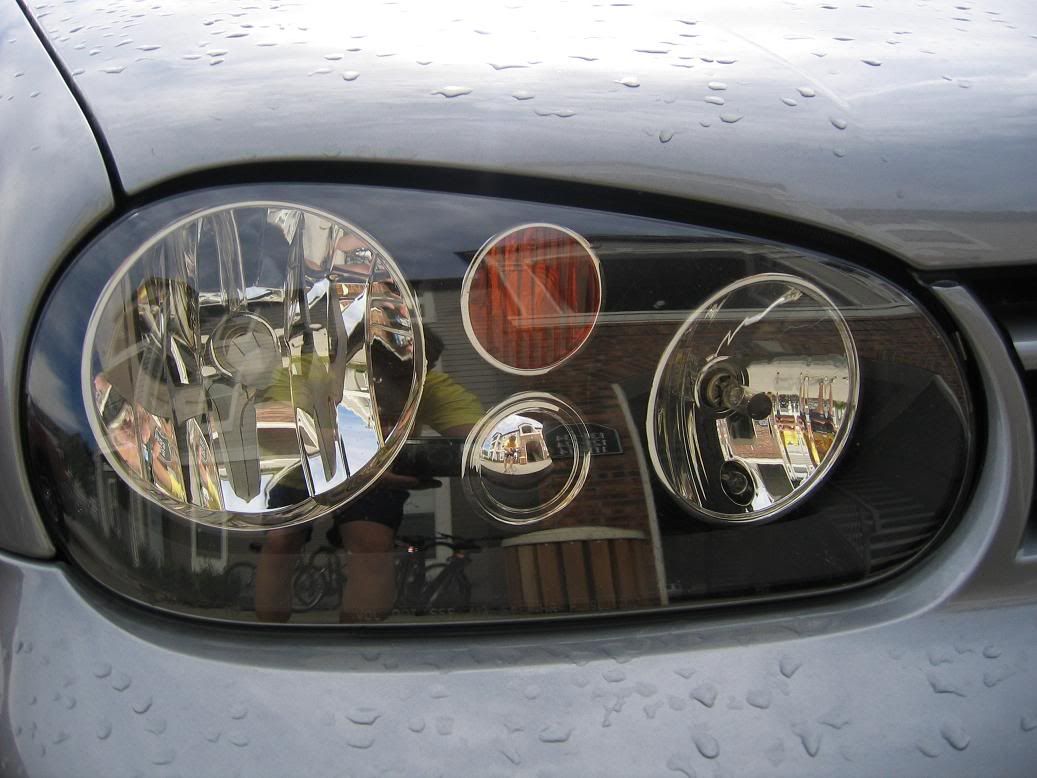
Start: Bright Shiny and New!

Remove the two black screws that are attaching the outer plastic shroud from the main body of the headlight.


With those removed, carefully work off all the clips that hold the bezel in place. The side with the rubber gasket (turn signal and parking light end) has to be the last place to come apart. It kind of hinges out once you have the rest removed.
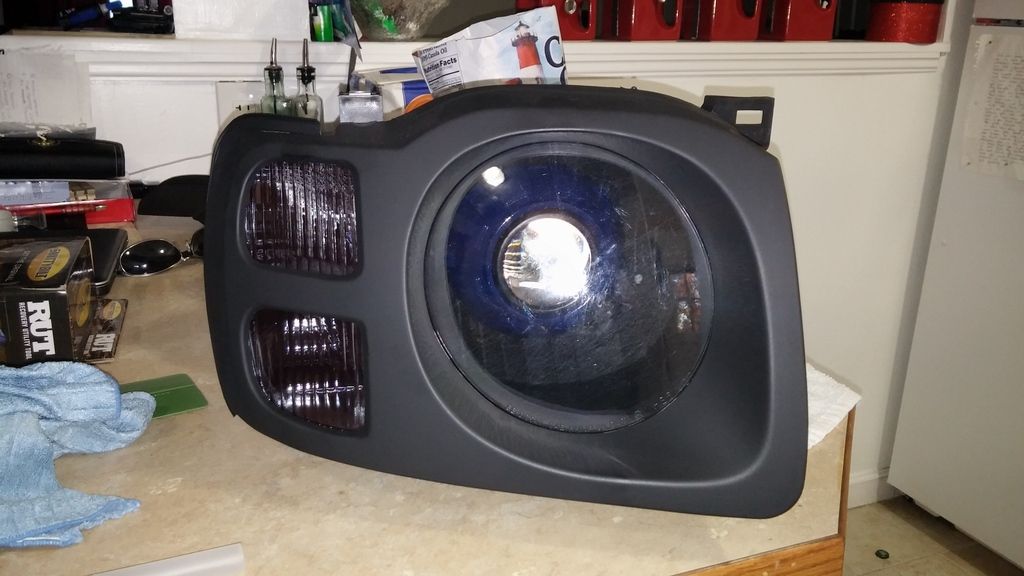
Now you have this!

Now. Set the bezel aside. We're going to paint that later.
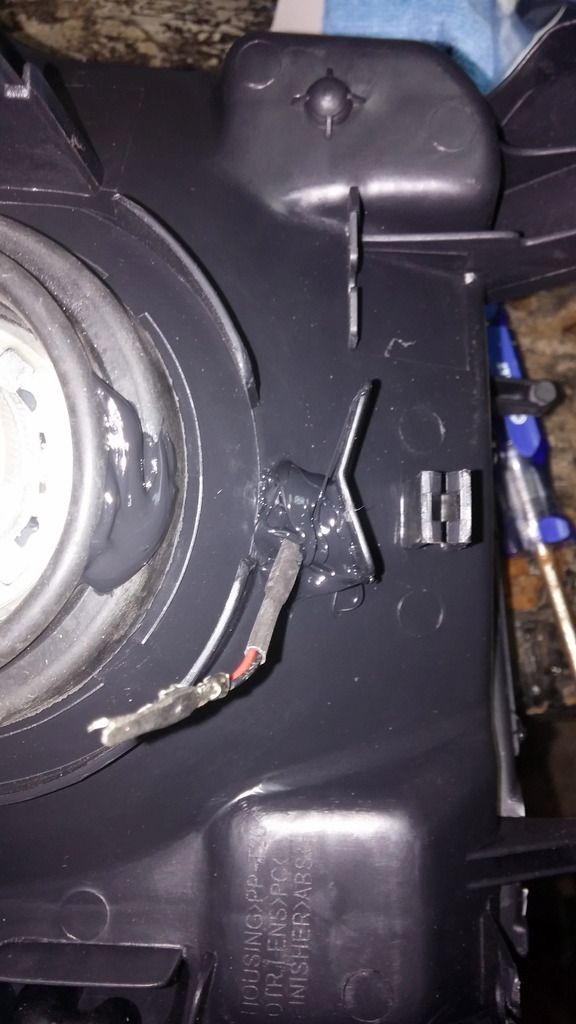
Flip the headlight over. Remove all the rubber on the back. There's two vent hoses that just pull off. There is a rubber gasket around the headlight socket. Just pop it off at the base with a flathead screwdriver.


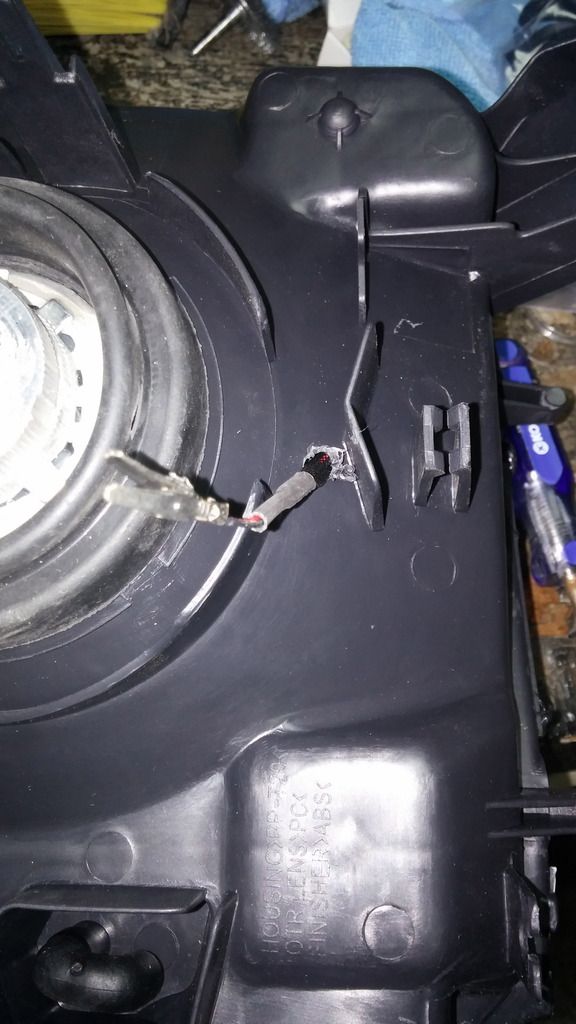
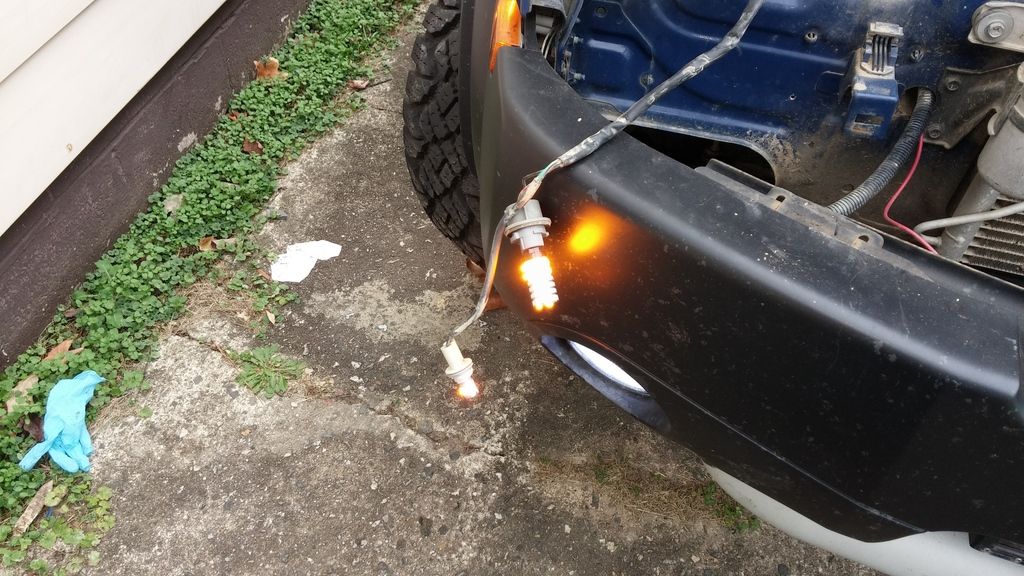
There's also two screws that are behind the turn signal / marking light location. Remove those now. That way when the headlight is hot, you don't have to worry about it.

Now. Bake.
I have a gas oven. Set it to 215°. Take out the second shelf. Lay a piece of foil across the bottom grate to deflect the direct heat from the headlight.

Place the headlight inside and let sit for 15 minutes. While that's happening, go find yourself some gloves. Because you'll want both the dexterity and heat protection when that thing comes out of the oven.

When they come out, work fast. The glue is now soft and pliable but it won't stay that way for long.
Grab the flathead and start at one corner. Insert screwdriver and slowly pry the corner open. If you waited the full 15 minutes, you should be able to just slowly pull the lens off without more prying. You'll notice that the glue stays in a big gooey sheet. Razor knife. Cut that sheet making sure that the glue retracts to the outside and doesn't get on the reflectors. Because you won't be able to get it off. Ever.
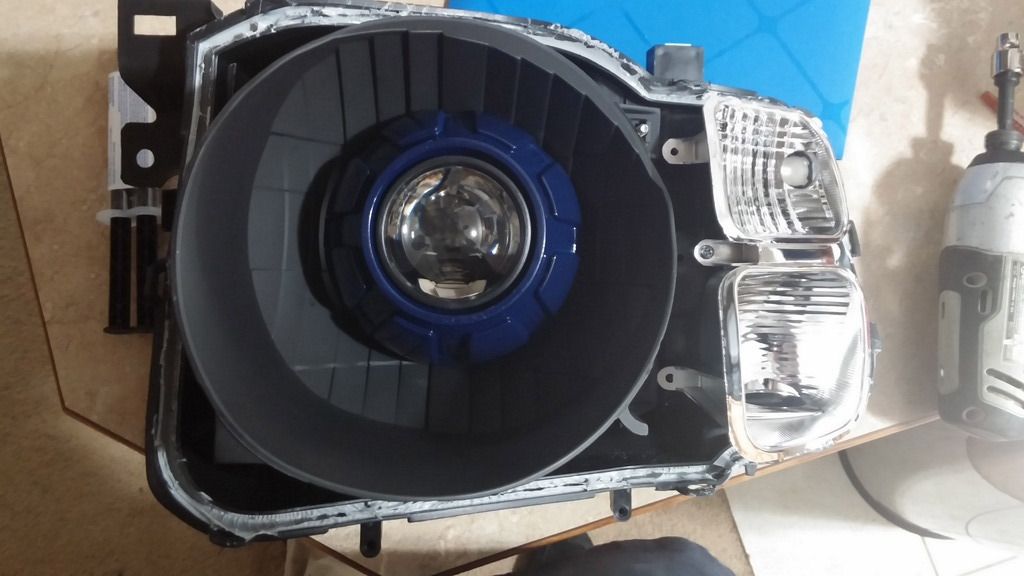
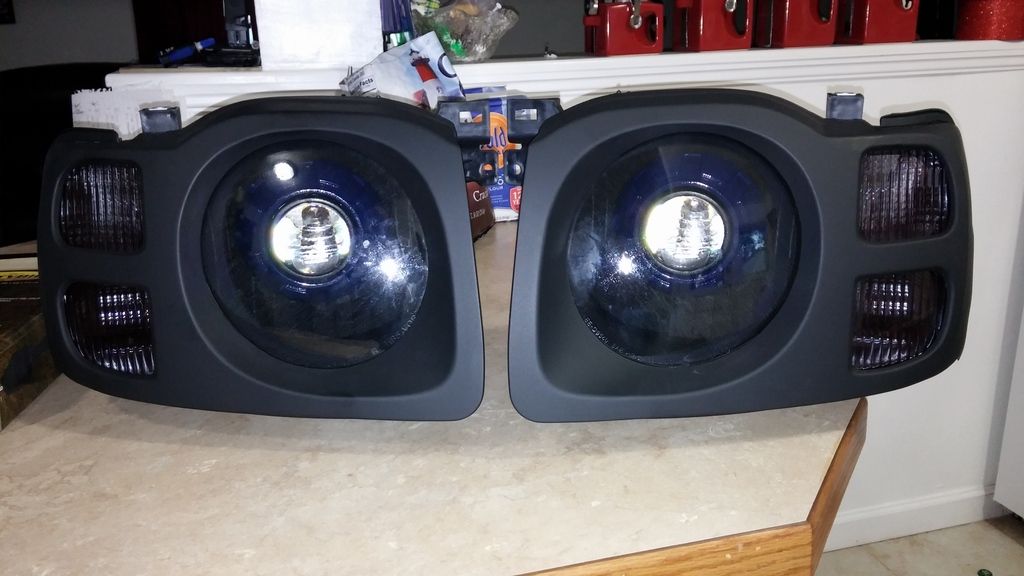
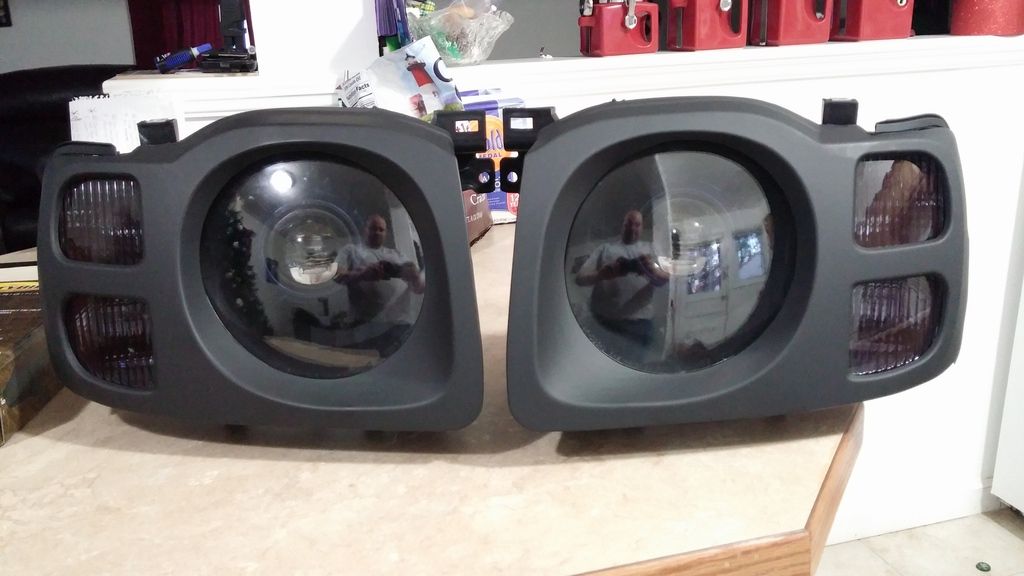
Here is the end result.

Now, since we are not painting the turn signal reflectors, I wanted to remove the main reflector for painting. This is done by taking out the aiming screw. Unscrew it until the top is loose and then gently pull the bottom to pop it out.

At this point, I'd take the lens and the body along with all the screws and rubbers in a ziplock bag and store them somewhere safe. Like an unused guest room.

Now. You have the main reflector. The inside of this is what's going to get painted. But we need to remove that pesky hood that sits over the old bulb.

There is a screw on the back that is holding the hood in there. Remove the screw with a Phillips and then take the flathead and bend the tabs out. The entire hood is metal. So it will bend like crazy. But it's trash, so no worries.
Pull and remove.


End of part one.
Prep and painting in the next part.
How to disassemble, bake, paint, install HID projectors, finish and install Gen 1.5 headlights.
I started with brand new off the shelf headlights. So I won't cover truck disassembly at this point. That comes later.
Tools:
Phillips head screwdriver
Flat head screwdriver
Oven
Aluminum foil
Razor knife
Start: Bright Shiny and New!
Remove the two black screws that are attaching the outer plastic shroud from the main body of the headlight.
With those removed, carefully work off all the clips that hold the bezel in place. The side with the rubber gasket (turn signal and parking light end) has to be the last place to come apart. It kind of hinges out once you have the rest removed.
Now you have this!
Now. Set the bezel aside. We're going to paint that later.
Flip the headlight over. Remove all the rubber on the back. There's two vent hoses that just pull off. There is a rubber gasket around the headlight socket. Just pop it off at the base with a flathead screwdriver.
There's also two screws that are behind the turn signal / marking light location. Remove those now. That way when the headlight is hot, you don't have to worry about it.
Now. Bake.
I have a gas oven. Set it to 215°. Take out the second shelf. Lay a piece of foil across the bottom grate to deflect the direct heat from the headlight.
Place the headlight inside and let sit for 15 minutes. While that's happening, go find yourself some gloves. Because you'll want both the dexterity and heat protection when that thing comes out of the oven.
When they come out, work fast. The glue is now soft and pliable but it won't stay that way for long.
Grab the flathead and start at one corner. Insert screwdriver and slowly pry the corner open. If you waited the full 15 minutes, you should be able to just slowly pull the lens off without more prying. You'll notice that the glue stays in a big gooey sheet. Razor knife. Cut that sheet making sure that the glue retracts to the outside and doesn't get on the reflectors. Because you won't be able to get it off. Ever.
Here is the end result.
Now, since we are not painting the turn signal reflectors, I wanted to remove the main reflector for painting. This is done by taking out the aiming screw. Unscrew it until the top is loose and then gently pull the bottom to pop it out.
At this point, I'd take the lens and the body along with all the screws and rubbers in a ziplock bag and store them somewhere safe. Like an unused guest room.
Now. You have the main reflector. The inside of this is what's going to get painted. But we need to remove that pesky hood that sits over the old bulb.
There is a screw on the back that is holding the hood in there. Remove the screw with a Phillips and then take the flathead and bend the tabs out. The entire hood is metal. So it will bend like crazy. But it's trash, so no worries.
Pull and remove.
End of part one.
Prep and painting in the next part.
Last edited:


")
